Illustration
About
Contact
Illustration
About
Contact
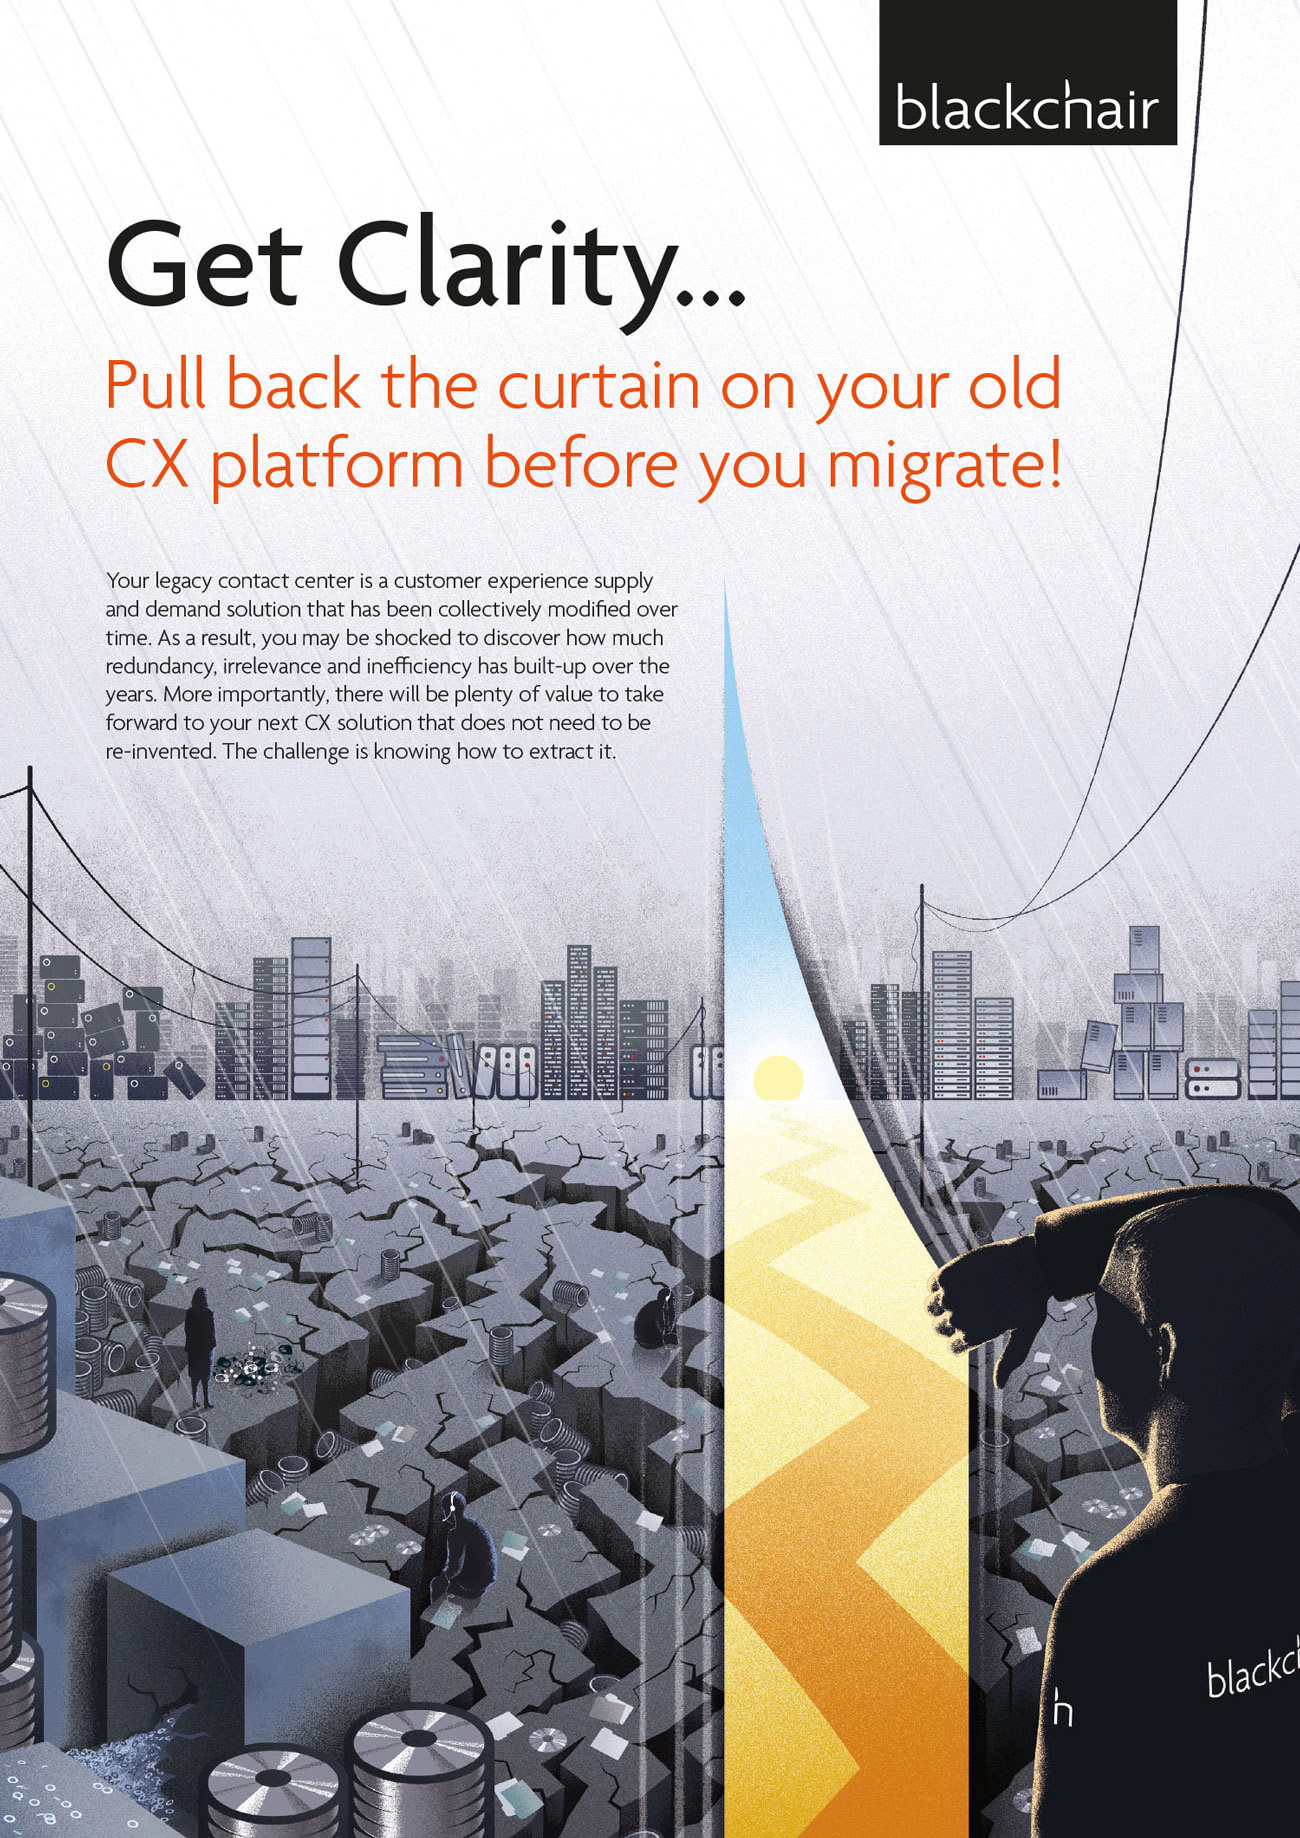
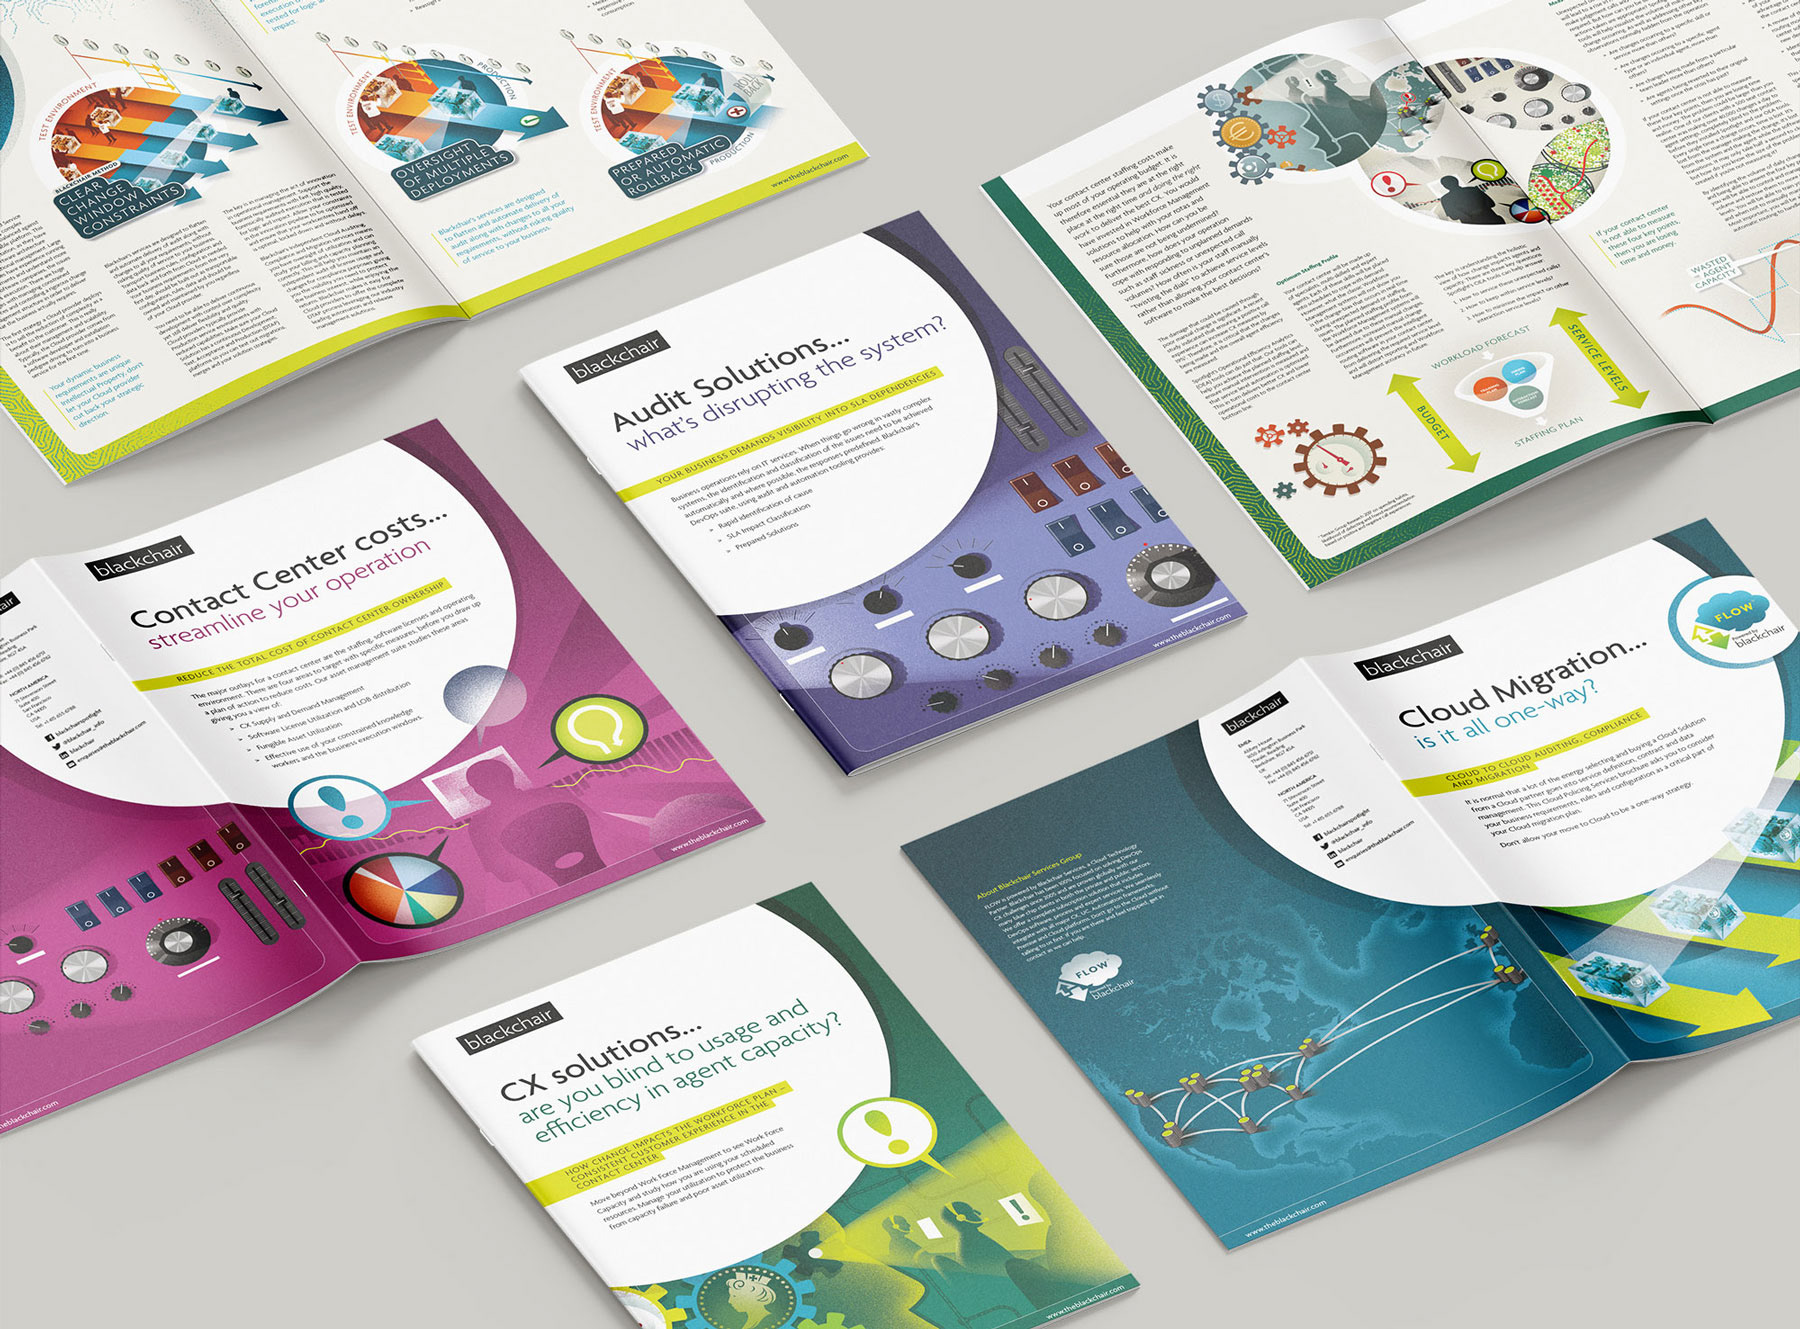
Illustrations for technology
Illustrations for a UK/US-based company delivering contact centre software solutions – the main challenge being to communicate a complicated set of processes in simple terms.
↑